Posted on Leave a comment

How Do I Make Coffee Using a Coffee Machine with a Grinder?

How Do I Make Coffee Using a Coffee Machine with a Grinder?

How Do I Make Coffee Using a Coffee Machine with a Grinder?

There is nothing quite like the aroma of freshly ground beans hitting the air in the morning. If you have recently upgraded to an all-in-one espresso machine like the Artkoff EM653, you have a professional-grade setup at your fingertips.

Transitioning from a standard drip machine to a bean-to-cup system can feel intimidating, but it is the secret to achieving cafe-quality results at home. Here is your step-by-step guide to mastering the Artkoff EM653.

Preparation: The Perfect Grind

The heart of the Artkoff EM653 is its integrated grinding bean box. Unlike pre-ground coffee, grinding seconds before brewing preserves the volatile oils that create flavor.

  • Adjust the Setting: Start by adjusting your grind size. For espresso, a finer setting is required. The Artkoff features 10 grind levels; a mid-range setting (around 5-10) is a great starting point for most medium-roast beans.

  • The Dose: Place your 58mm high-pressure funnel into the grinding cradle. For a single shot, aim for approximately 13g of coffee; for a double shot, aim for 19g.

Tamping: Creating Resistance

Once the grounds are in the basket, you need to compress them to ensure the water flows through evenly.

  • Leveling: Gently tap the side of the funnel to level the grounds.

  • Pressure: Use a tamper to apply a firm, level pressure of about 12.5kg. This creates a “puck” that allows the 15-bar pump to extract the maximum flavor without “channeling” (where water finds a path of least resistance).

The Extraction: Monitoring the Gauge

Lock the funnel into the 58mm professional brewing head. This is where the magic happens, powered by the 1680W high-power heater.

  • Select Your Cup: Choose the single (approx. 30mL) or double (approx. 60mL) button.

  • Watch the Espresso Pressure Gauge: This is your most important visual cue. During extraction, the needle should rise into the gray “Ideal Extraction” zone.

    • Too low? Your grind is likely too coarse.

    • Too high? Your grind is likely too fine.

Customizing Your Beverage

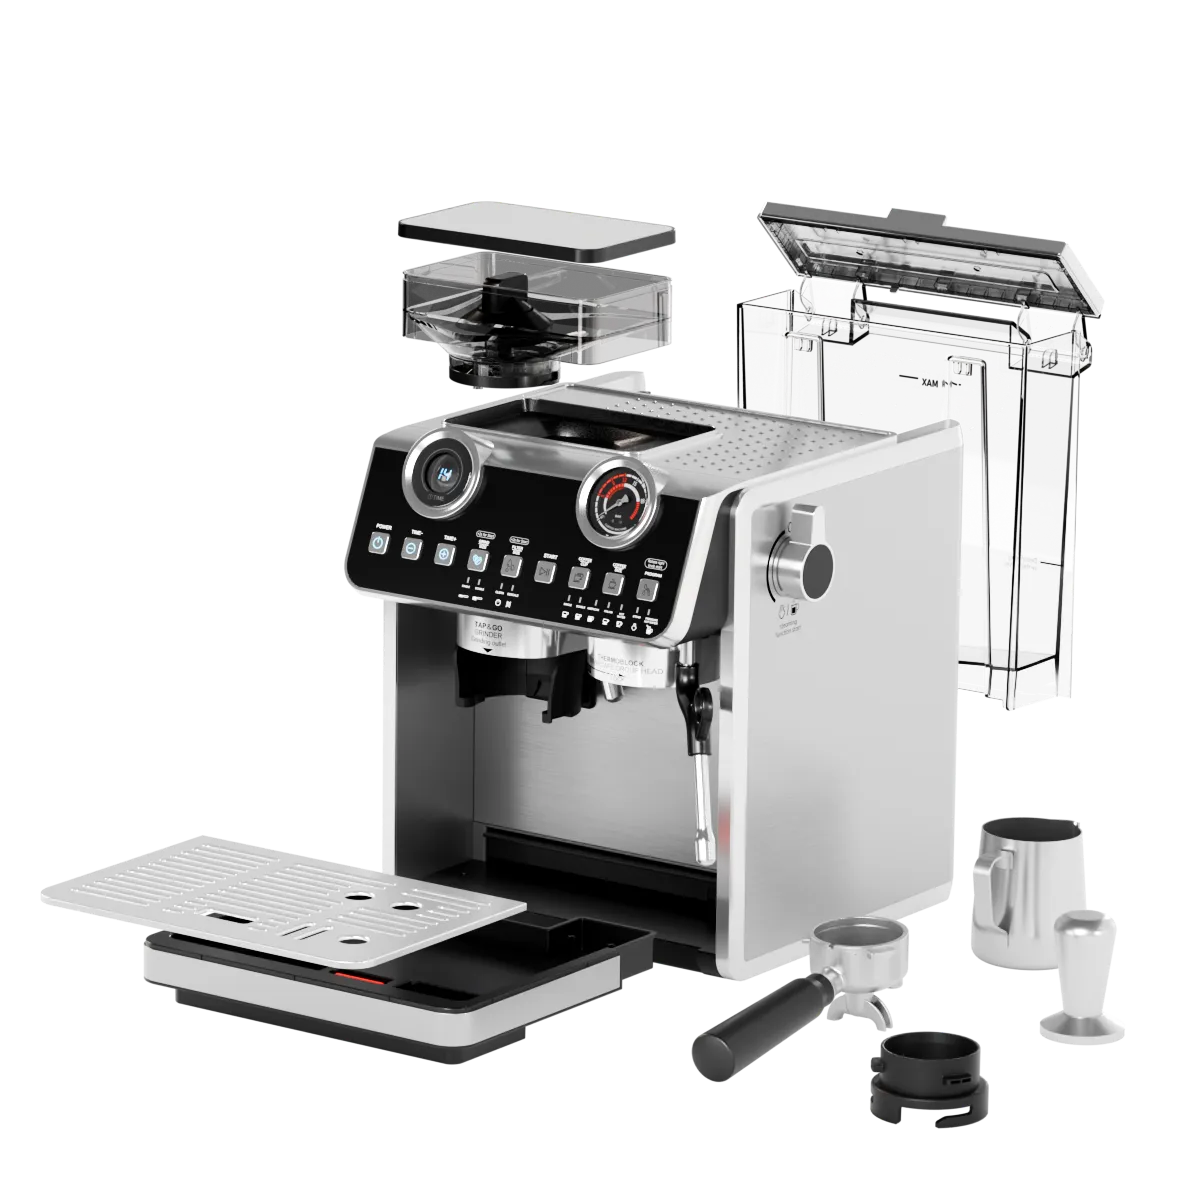
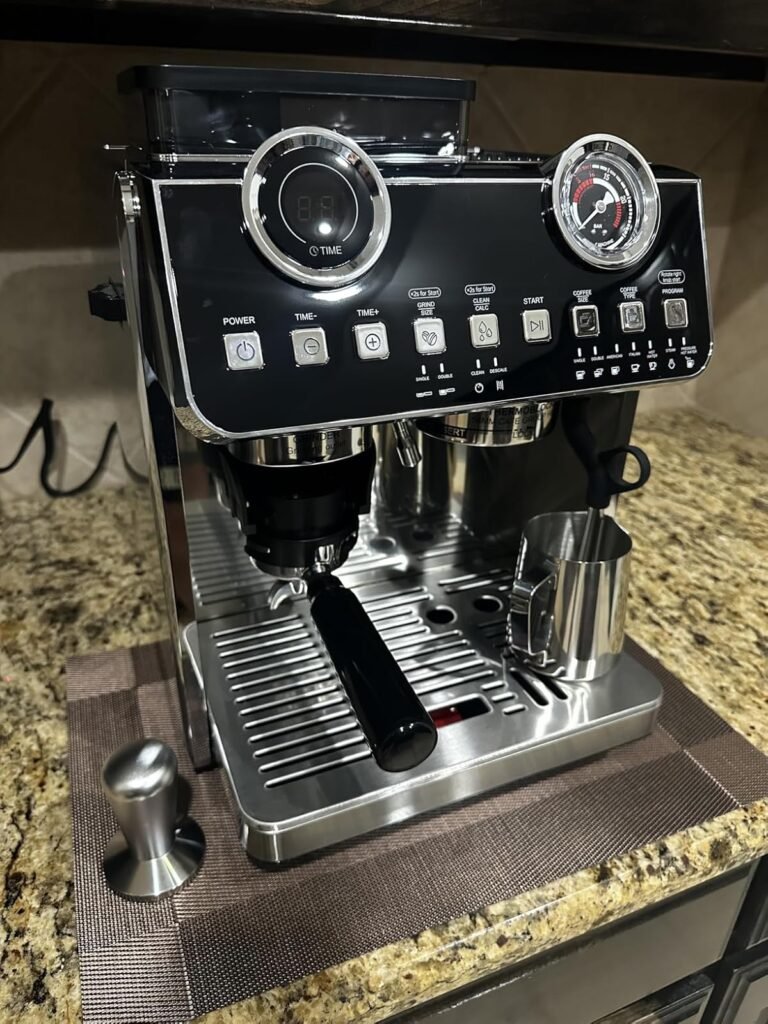
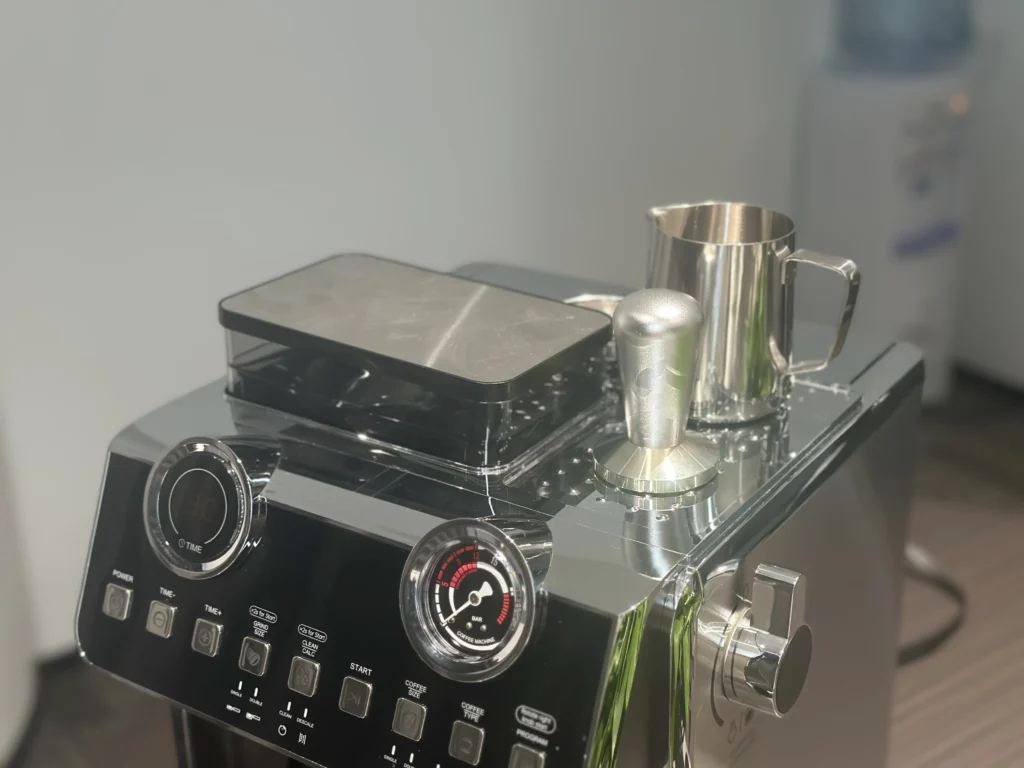
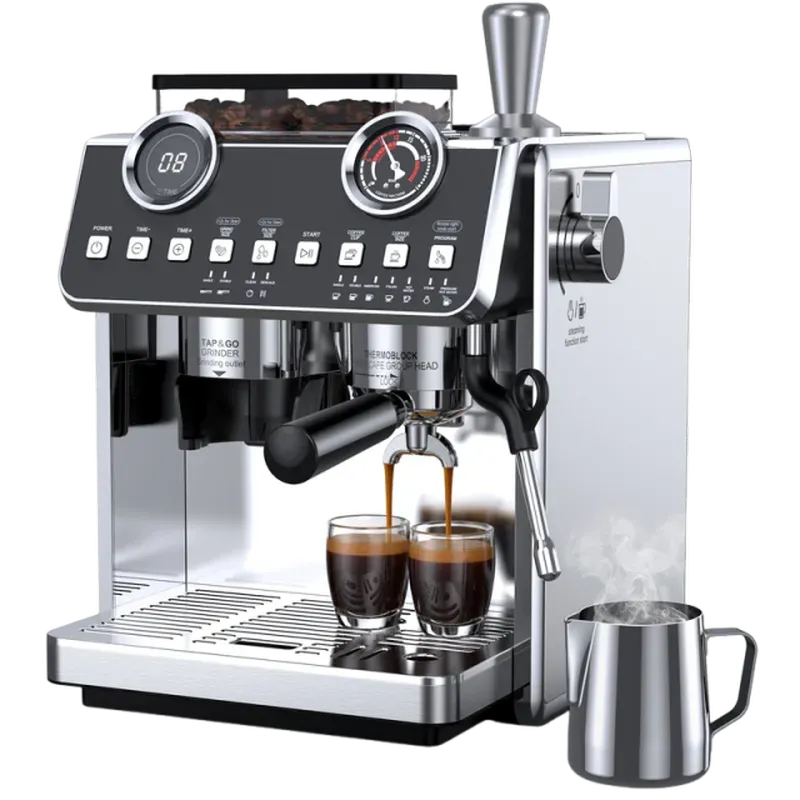
The Artkoff EM653 isn’t just for straight espresso; it’s a versatile tool for any coffee preference.

The Americano

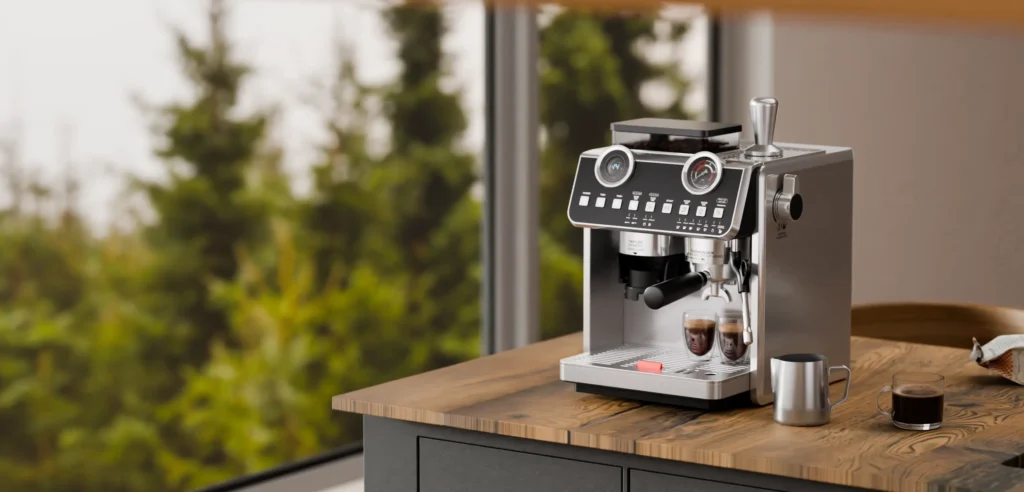
If you prefer a longer, smoother coffee, the EM653 features a dedicated hot water nozzle. When you select the Americano function, the machine automatically extracts the espresso and then adds hot water to the cup, mimicking the classic barista technique.

Lattes and Cappuccinos

To create velvety milk foam, use the steam pipe.

  1. Purge the steam wand to remove any condensation.

  2. Submerge the tip just below the surface of the milk to create “stretch” (air), then tilt the pitcher to create a vortex to refine the texture.

Maintenance for Longevity

To keep your Artkoff running perfectly, a little maintenance goes a long way:

  • Daily: Always wipe the steam pipe immediately after use and “flush” the brewing head to remove old coffee oils.

  • Deep Cleaning: The machine will eventually prompt a descaling cycle (look for the “d1-d4” indicators on the panel). This removes mineral buildup from the internal heaters.

  • Grinder Care: If the panel displays a P2 error, it usually means the motor is stalled due to a blockage. Simply clean the discharge channel and grinding chamber to keep the 150W motor spinning freely.

Pro Tip: Fine-Tuning the Temperature

Coffee flavor profiles change based on heat. The Artkoff EM653 allows you to adjust the extraction temperature between 88°C and 96°C. Darker roasts often taste better at slightly lower temperatures, while lighter roasts benefit from the higher end of the scale.

By mastering these steps, you aren’t just making coffee—you’re crafting an experience. Enjoy your Artkoff EM653!

To join our mailing list and never miss event update!

Please enable JavaScript in your browser to complete this form.
Posted on Leave a comment

How to make an iced mocha?

Iced Mocha

Iced Mocha is a refreshing chilled beverage that combines the bold intensity of espresso with rich chocolate and cold milk over ice. This classic café favorite offers a perfect balance of bitter coffee, sweet cocoa, and creamy smoothness, making it an excellent choice for warm weather or as an indulgent afternoon treat.

5 mins

Easy

Iced

4.9 stars

Ingredients

Directions​

1. Prepare fresh espresso and allow it to cool slightly, or use cold-brew concentrate.
2. Fill a 400–450 ml glass with ice cubes.
3. Pour the chocolate syrup over the ice, coating it evenly.
4. Add the cooled espresso (or cold brew) and stir gently to blend with the chocolate.
5. Slowly pour in the cold milk, creating a layered effect if desired.
6. Stir thoroughly until the drink is uniform and chilled.
7. Top with whipped cream and a dusting of cocoa powder or chocolate shavings, if using.

Tip

For a more intense chocolate flavor, melt high-quality dark chocolate with a splash of hot espresso before cooling and adding to the drink—this creates a richer, homemade ganache-like base that elevates the iced mocha far beyond standard syrup versions.

More Recipes

espresso

Macchiato

Caramel Macchiato

Latte

Mocha

Posted on Leave a comment

How Is Nitro Cold Brew Made?

Nitro Cold Brew

Nitro Cold Brew is a smooth, creamy cold coffee beverage created by infusing cold-brewed coffee with nitrogen gas. The result is a velvety texture with a cascading foam head similar to draft beer, offering naturally sweet notes and reduced acidity without the need for milk or sugar—ideal for those seeking a refreshing, full-bodied iced coffee experience.

5 mins

Moderate

Iced

5 stars

Ingredients

Directions​

  1. Combine coarsely ground coffee with cold water in a large jar or cold brew device. Stir gently to saturate the grounds.
  2. Cover and steep in the refrigerator for 12–18 hours (longer for stronger brew).
  3. Strain the cold brew concentrate through a fine mesh or cheesecloth into a clean container, discarding the grounds. Dilute to taste if too strong (typically 1:1 with water for ready-to-drink strength).
  4. Pour the cold brew into a whipped cream dispenser (ensure it is chilled).
  5. Charge with 1–2 N (or NO) cartridges, seal, and shake vigorously for 30–60 seconds.
  6. Refrigerate the charged dispenser for 1–2 hours to allow gas absorption (optional but improves texture).
  7. Dispense slowly into a glass at a 45-degree angle to create the signature cascading foam. Serve immediately.

Tip

For the creamiest results at home, use dedicated nitrogen cartridges rather than N₂O (commonly used for whipped cream)—they produce finer bubbles and a more authentic stout-like mouthfeel. Commercial nitro systems use pressurized taps, but the charger method reliably replicates the experience with minimal equipment. Experiment with roast levels: lighter roasts highlight fruity notes, while darker ones emphasize chocolatey depth.

More Recipes

espresso

Macchiato

Caramel Macchiato

Latte

Mocha